


If you would like to learn more about what we do at Historic Environment Scotland visit our website here, or follow us on twitter, facebook or Instagram. You can also see all of our survey work on our website Canmore.
- Home
- Our Work
- Stirling's Story
- Blog
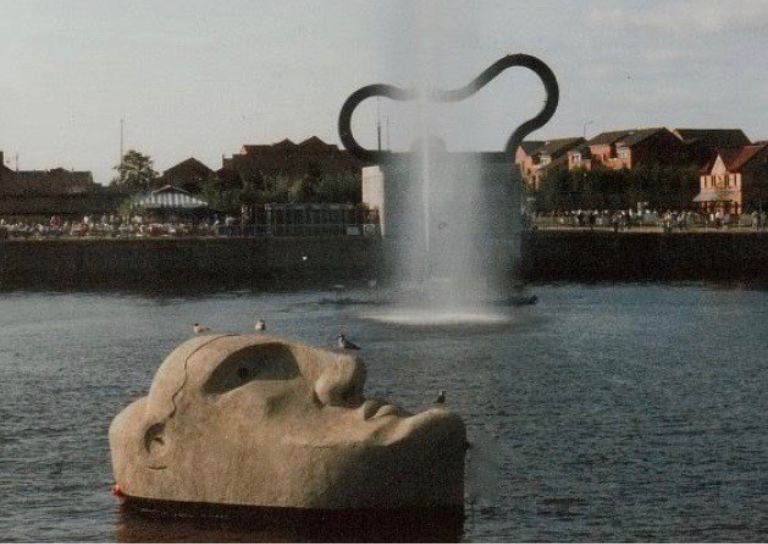
- Floating Head Sculpture at Garden Glasgow Festival 1988
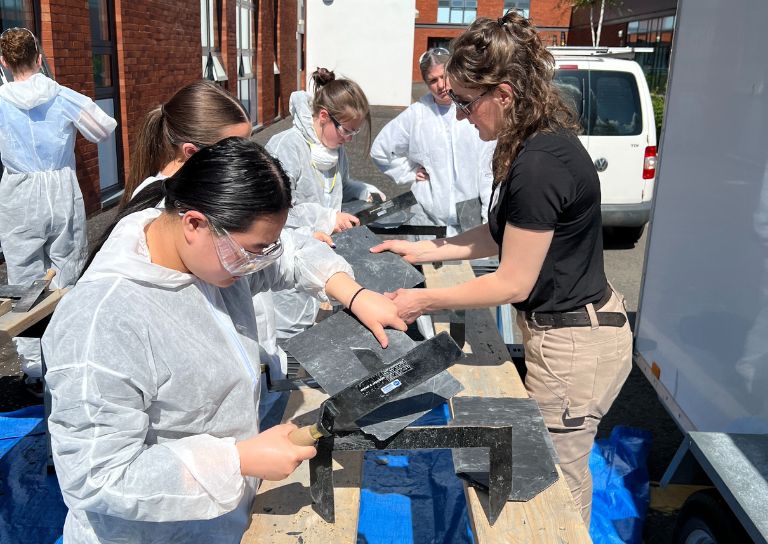
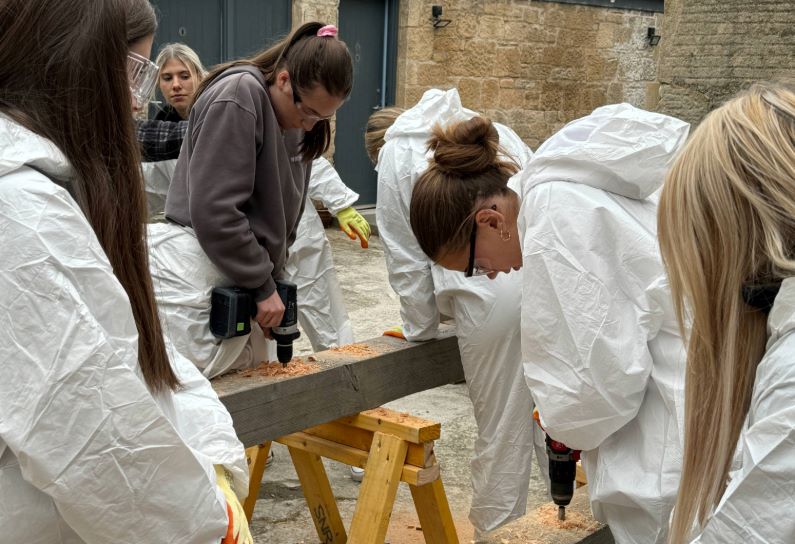
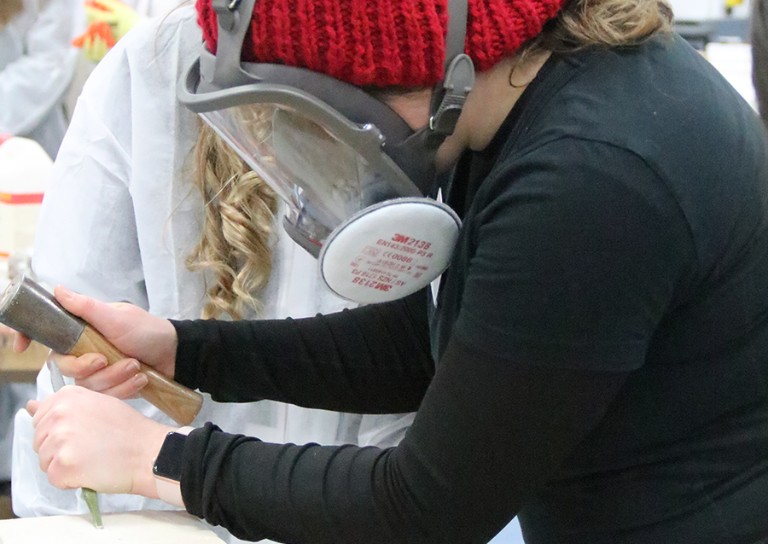
- Inspiring the Future: Stirling City Heritage Trust's Women in Construction Event at Wallace High
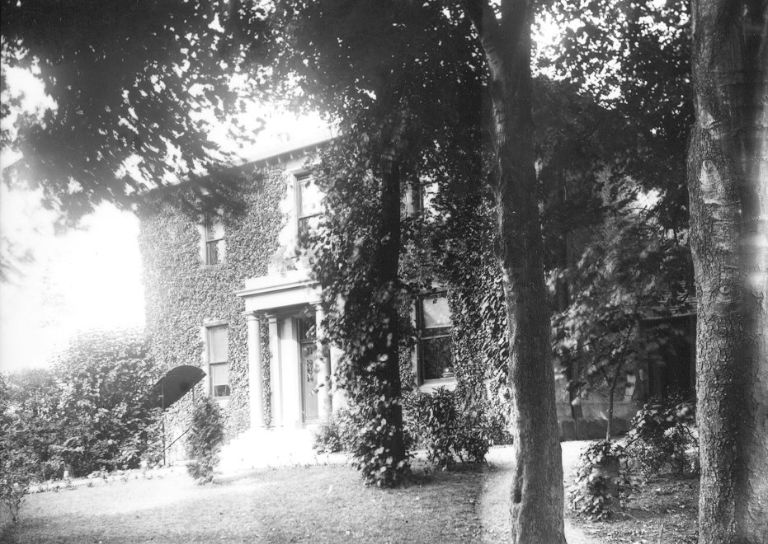
- Beechwood House and the Transatlantic Slave Trade

- New Retrofit Service now available for Traditional Buildings Health Check Members
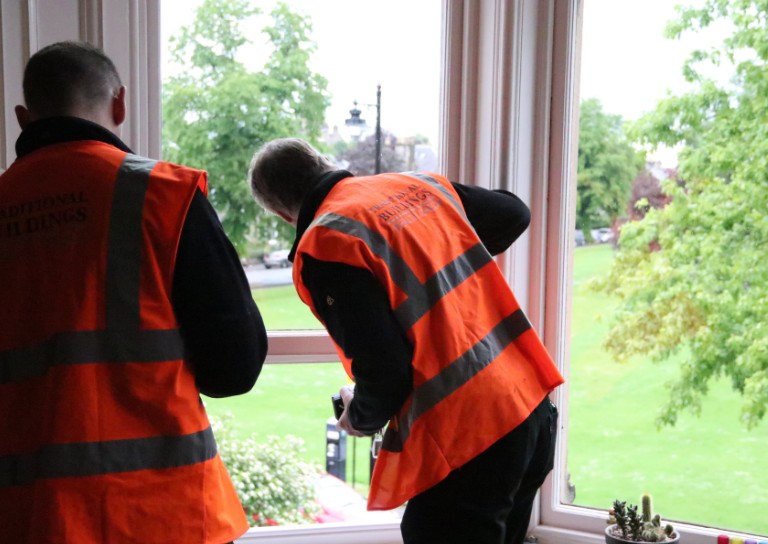
- Retrofitting Traditional Buildings: Chimneys

- SCHT 20: Championing Women in Construction
- Stirling's Lost Swimming Pools
- Women in Construction at Bannockburn House
- Avenues to the Past: Stirling’s Historic Streets Exhibition
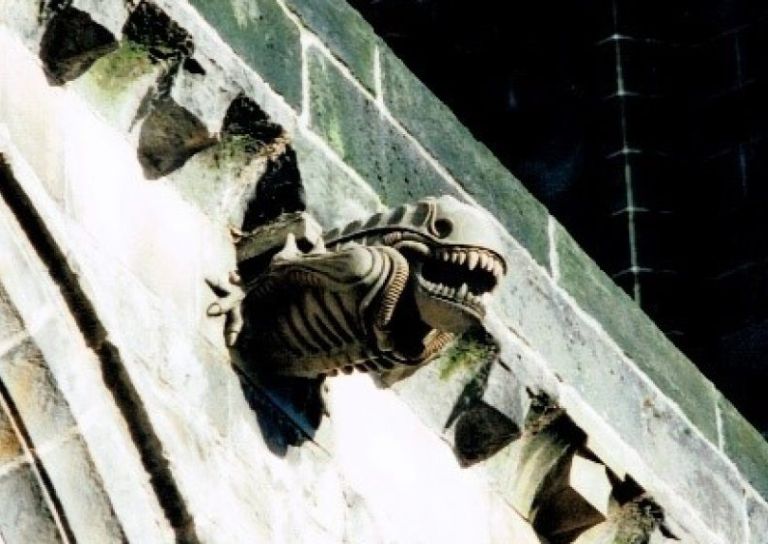
- The story behind Paisley Abbey’s Alien gargoyle
- Doors Open Days Talk: Who Built Stirling?
- Retrofitting Traditional Buildings
- Retrofitting Traditional Buildings: Windows
- Statement on Langgarth House
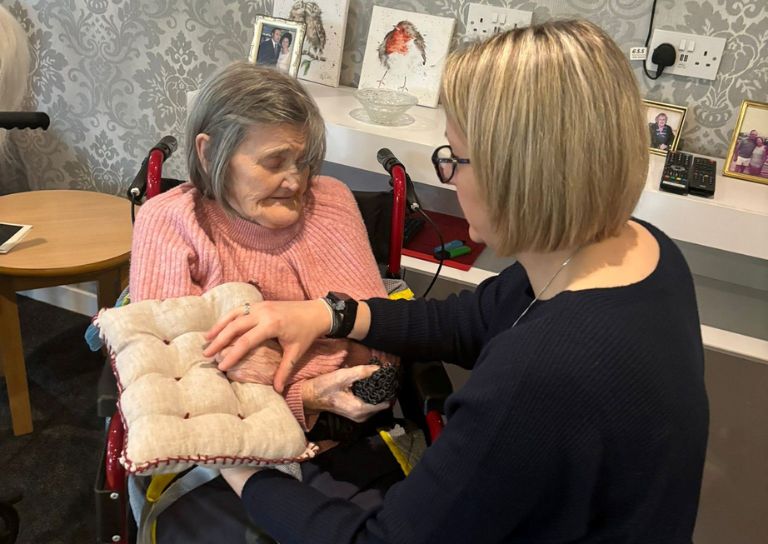
- Guest Blog: Dementia Friendly Heritage Interpretation
- SCHT Grant Conditions: Owners Associations
- Stirling Business Awards 2025

- What is a Conservation Area
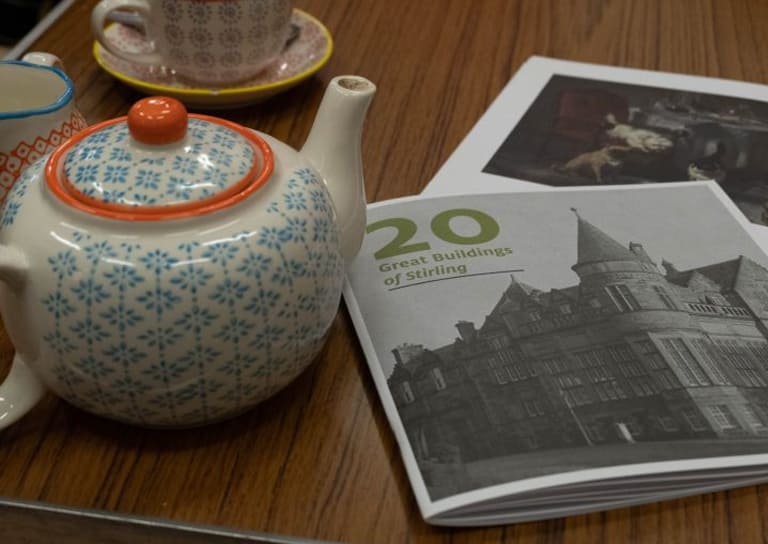
- 20 Great Buildings of Stirling
- Cambuskenneth Abbey
- 10 Years of the Traditional Buildings Health Check
- Building Resilience: Maintaining Traditional Buildings
- Architects and The Thistle Property Trust
- World Heritage Day: Exploring Hayford Mill
- Community Consultation launched for Stirling’s Heritage Strategy
- SVE Inspire Awards September 2024
- Reminiscence Art Project
- On the European Stage: Preserving by Maintaining conference, Bratislava
- The Abolition Movement in Stirling

- Stirling City Heritage Trust Publications
- Growing up in Stirling: A Night of Reminiscence at The Smith
- Shopping Arcades
- Retrofitting Traditional Buildings: Insulation
- Retrofitting Traditional Buildings: Climatic Adaptation
- Kings, Wolves and Drones: 20 years of care and repair at Stirling City Heritage Trust
- Practical Workshop on Retrofitting Insulation with A. Proctor Group
- Marking the 80th anniversary of VE Day
- Walker Family Visit

- Sharing Memories: Taking '20 Great Buildings of Stirling' into the community
- SCHT visit to Brucefield Estate, Forestmill, Clackmannanshire
- Retrofitting Traditional Buildings: Fabric First
- Supporting traditional building repair in Stirling
- Stirling's Historic Jails
- Ghost Tales from Stirling
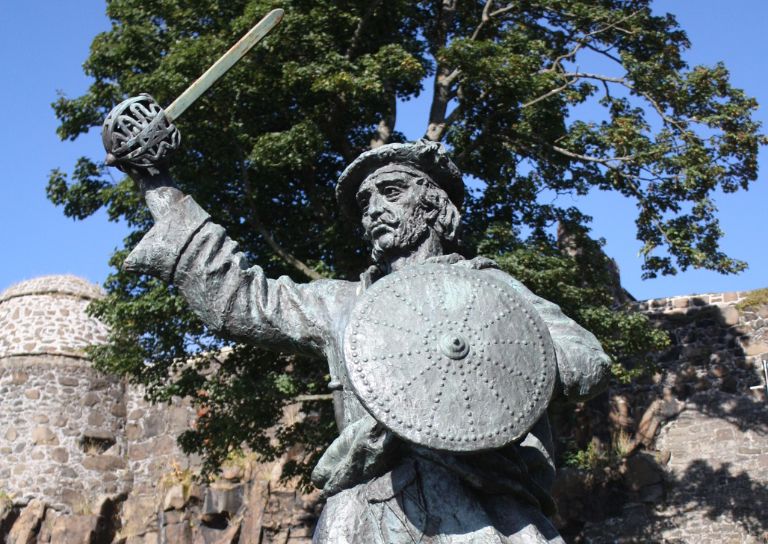
- William Wallace Statues In Stirling
- Statement on Christie Clock
- Stirling Reminiscence Box
- Stirling City Heritage Trust at 20

- Retrofit Event: Meet the Suppliers
- Snowdon House and The West Indies
- Coronations and Royal Christenings in Stirling
- Stirling’s Lost Skating Heritage

- Miss Curror and the Thistle Property Trust
- Dr Lindsay Lennie retires from Stirling City Heritage Trust

- Stirling’s Streetscape Stories: Photography Workshop
- The development of King's Park
- Level 3 Award in Energy Efficiency for Older and Traditional Buildings Retrofit Course (2 Day)
- Stirling's Heritage Treasures
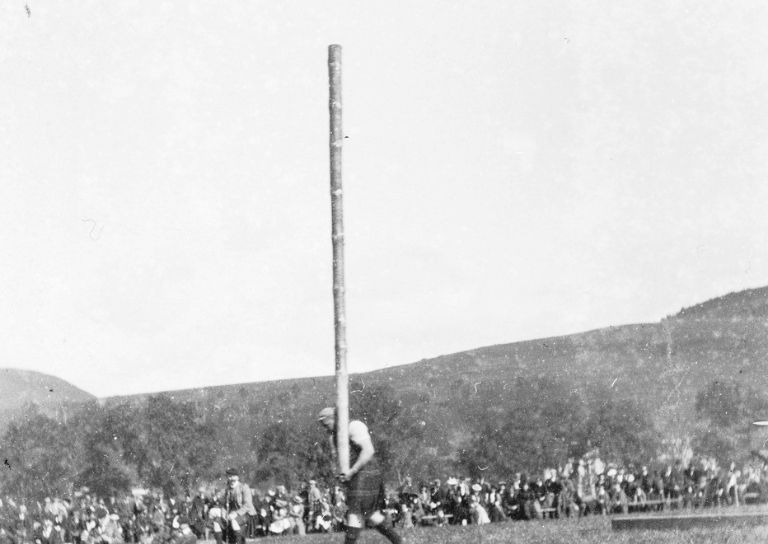
- Stirlingshire’s Highland Games
- Laurelhill House and the West Indies
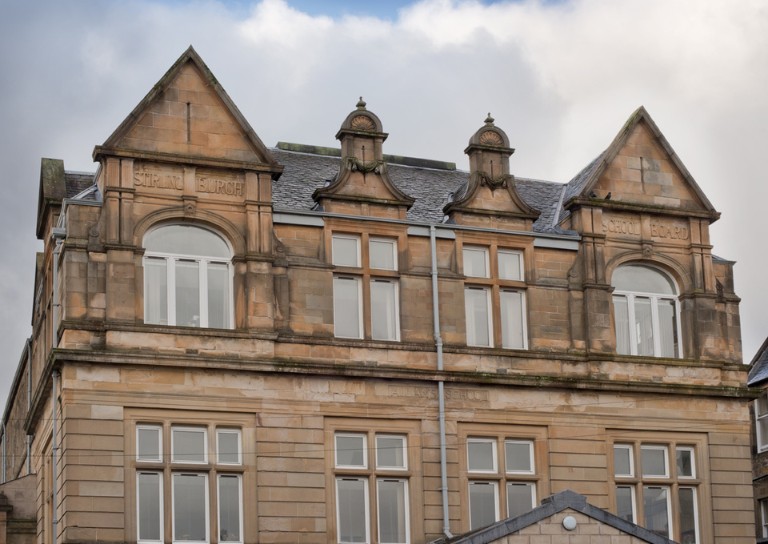
- Stirling’s Historic Schools
- Creative careers in the heritage sector
- Energy efficiency project awarded grant from Shared Prosperity Fund
- Postcards From Stirling
- Stirling’s Gala Days
- Building Surveying Student Intern at Stirling City Heritage Trust
- Heritage Trail: Stirling Walks
- Local History Resources
- Stirling Through the Decades
- Stirling’s STEM Pioneers
- Traditional Skills: Signwriting
- Christian MacLagan, a pioneering lady, but born too soon?
- Traditional Shopfronts in Stirling
- Stirling History Books for World Book Day
- My Favourite John Allan Building by Joe Hall
- My Favourite John Allan Building by Lindsay Lennie
- My Favourite John Allan Building by Andy McEwan
- My Favourite John Allan Building by Pam McNicol
- Celebrating John Allan: A Man of Original Ideas
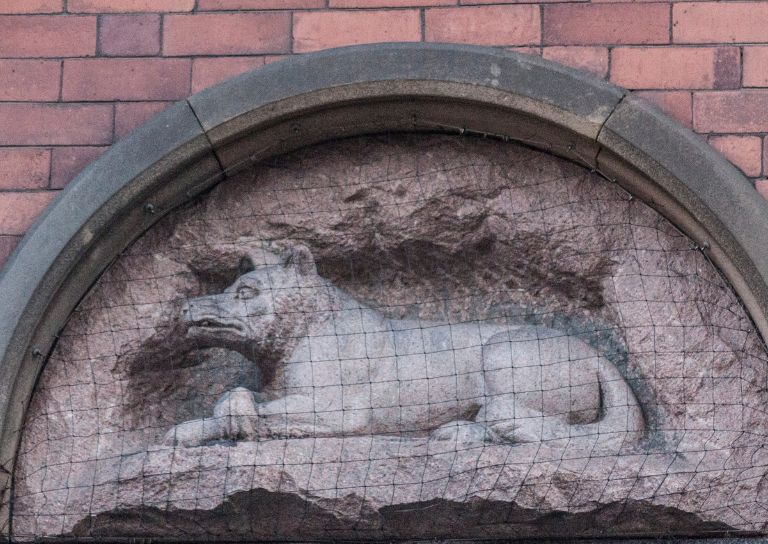
- The Tale of the Stirling Wolf
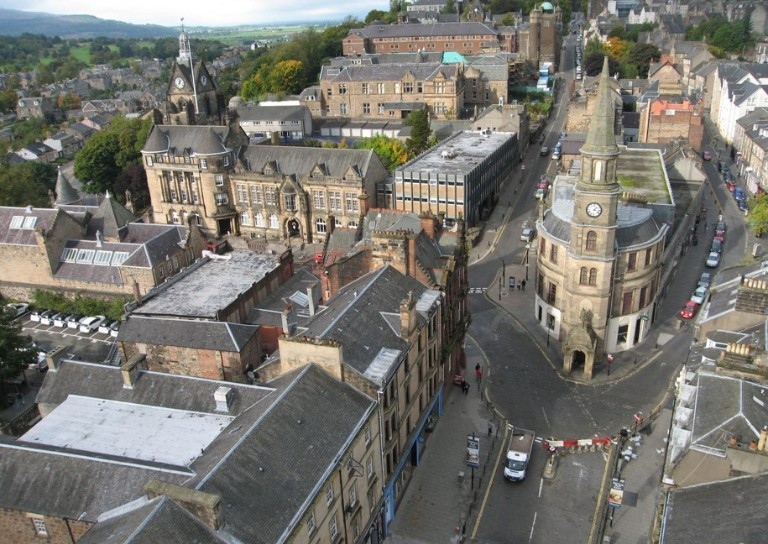
- Stirling: city of culture
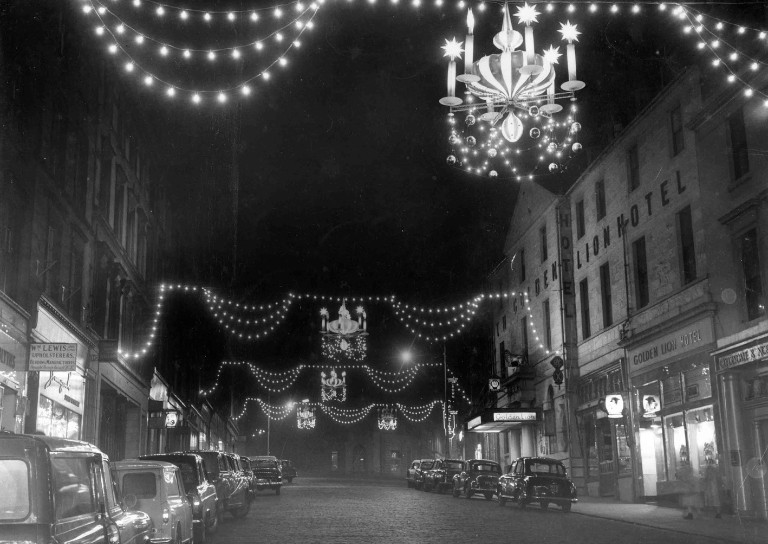
- Christmases Past in Stirling
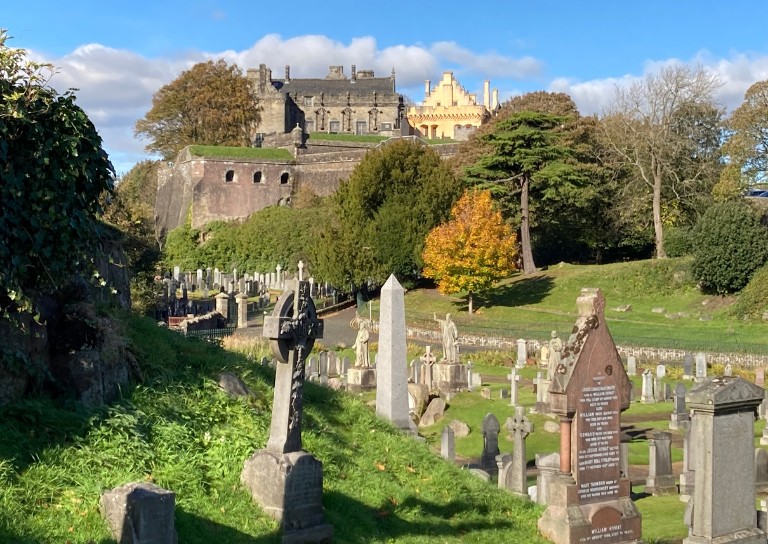
- Stirling’s Historic Graveyards
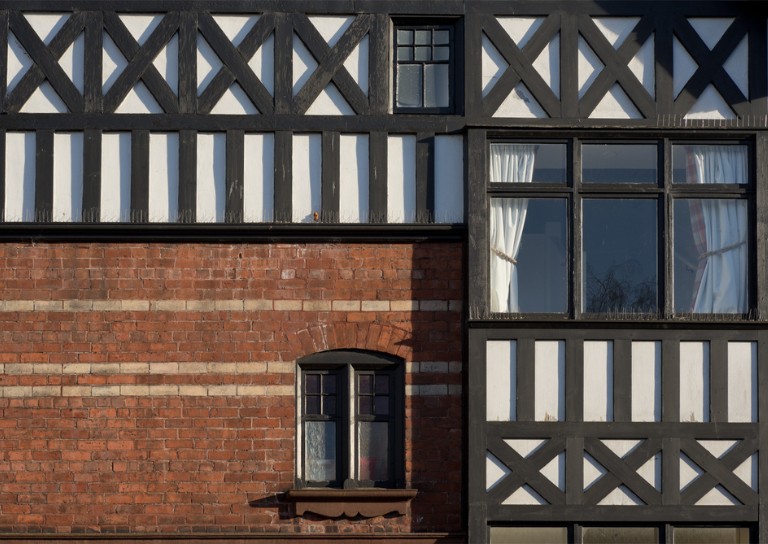
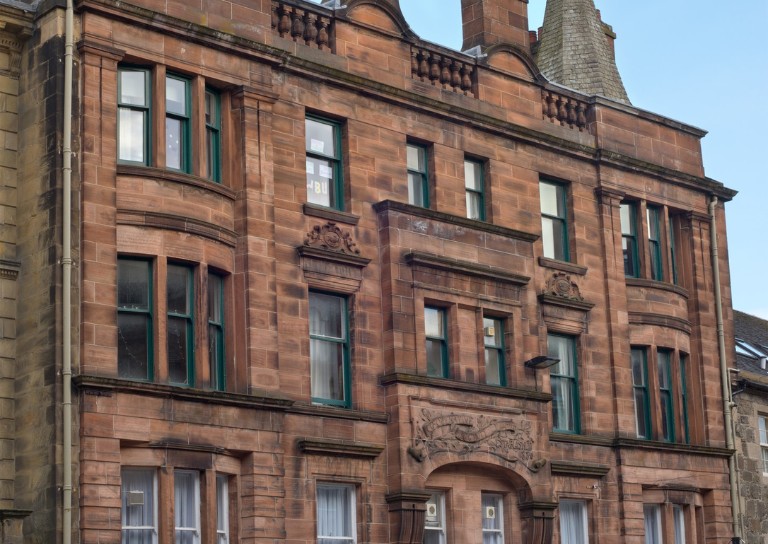
- Top 10 Tips for Architectural Photography

- An Interview with David Galletly
- Springtime in Stirling
- The Kings Knot – a history
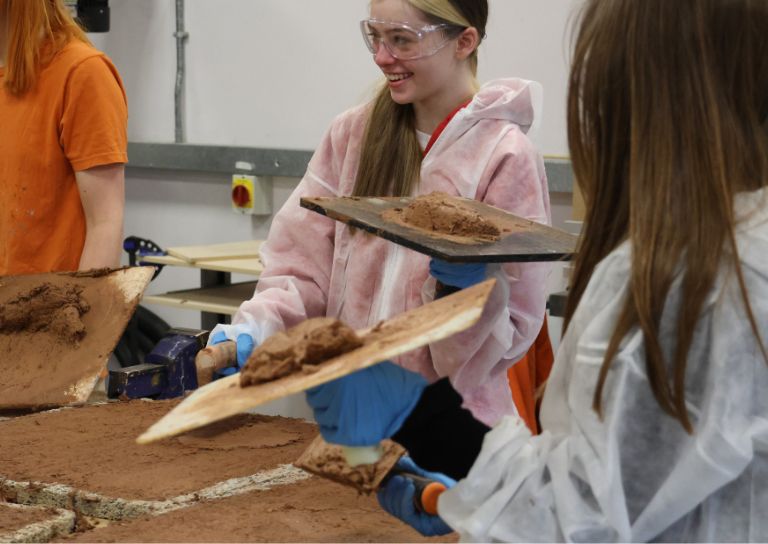
- A Future in Traditional Skills
- Robert Burns’ First Trip to Stirling
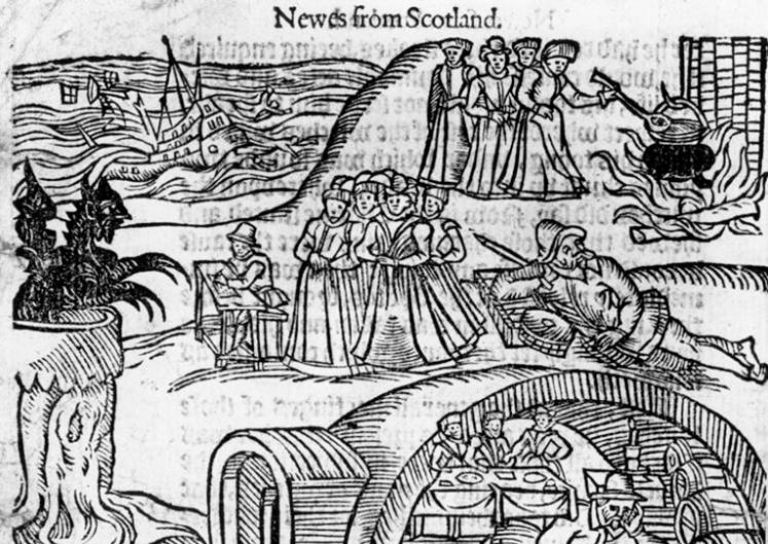
- Stirling’s Witches
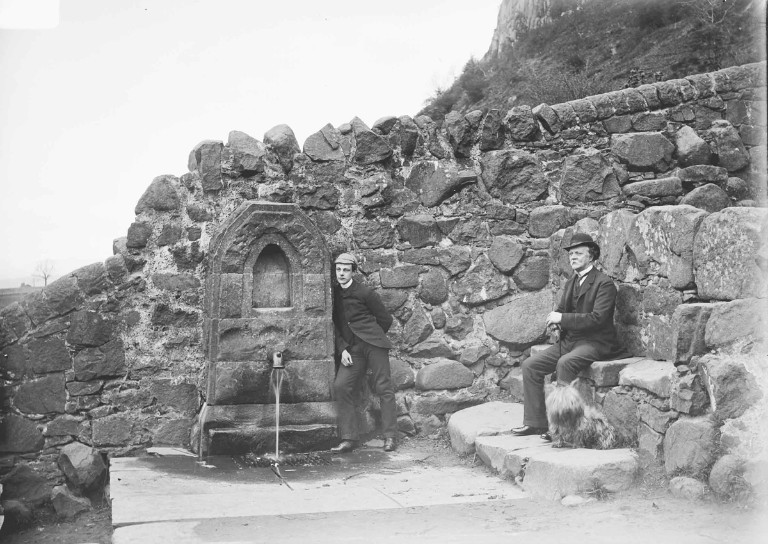
- Stirling’s Ancient Wells
- An architecture student’s take on the City Of Stirling
- Ronald Walker: Stirling’s Architect
- Stirling’s Statues
- Stirling’s Wee Bungalow Shops
- Stirling’s Historic Hospitals
- Women in Digital Innovation and Construction
- Heritage at home: 8 of the best online heritage resources
- Stirling featured at virtual heritage conference
- Five of Stirling’s greatest John Allan buildings
- Women in Construction – Stirling event report
- Scotland’s trailblazing women architects
- Stirling’s Heritage: Spotlight on The Granary
- TBHC Scheme now open to properties in Dunblane and Blairlogie
- How drones help us inspect traditional buildings

- Hazardous Masonry & Masonry Falls
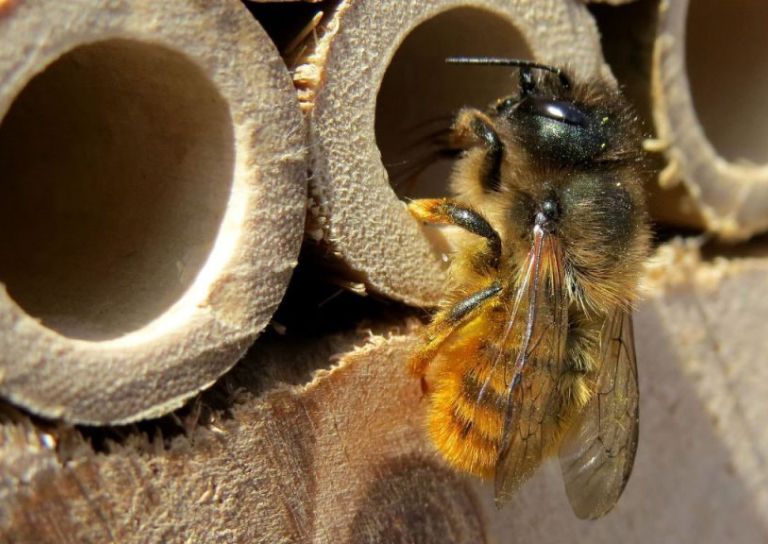
- Mason Bees: What’s the Buzz?
- Stirling Traditional Skills Demonstration Day Success!
- Floating Head Sculpture at Garden Glasgow Festival 1988
- About Us
- Support Us
- Contact
![]()
![]()
Close